Particle effect spritesheets in Unity
Get game-ready 2D particle effects into Unity: export a spritesheet from ParticleFX Studio, slice it in the Sprite Editor and play it as an animation, with settings for pixel art and glow.
Unity's own Particle System simulates every particle at runtime. A baked effect from ParticleFX Studio is a sprite animation instead: it looks the same on every device, costs about as much as one animated sprite, and needs no VFX setup in Unity. Pick an effect from the 510+ free effects or make your own in the studio, then follow the steps below.
Export the spritesheet
- Open the effect in the studio and press Export.
- Choose Spritesheet. Leave Transparent on so the frames keep their alpha.
- Note the frame size the dialog shows (for example
256 x 256 px, 30 frames at 30 fps). You need it to slice the sheet. - With a plan, set Engine data to Unity / generic grid JSON: the JSON next to the PNG lists the frame width, height, columns, rows, padding and fps, so nothing has to be measured.
- Export and copy the PNG into your project under
Assets.
Slice and animate it
- Select the PNG. In the Inspector set Texture Type to Sprite (2D and UI) and Sprite Mode to Multiple, then press Apply.
- Press Sprite Editor, open Slice, choose Grid By Cell Size and enter the frame size from the export (plus the padding as offset and padding, if you set any). Press Slice and Apply.
- Expand the PNG in the Project window, select every frame and drag them into the Scene. Unity creates a GameObject with an animation clip.
- Open the clip and set its Samples to the export frame rate (shown in the export dialog, 30 by default) so the effect plays at the speed you saw.
- For a one-shot effect such as an explosion, turn off Loop Time on the clip and destroy the object at the end of the animation.
Pixel art and glow settings
- Pixel art: on the texture set Filter Mode to Point (no filter) and Compression to None, and give it the same Pixels Per Unit as your other sprites. Effects made in pixel mode are already on a hard pixel grid, so they stay crisp.
- Glow and fire: effects drawn with additive blending look brightest on a material that adds. Export with Transparent off and Black background on, then use a material whose blend is additive (for example a URP 2D Sprite-Unlit shader graph with Blend set to Additive). Black adds nothing, so only the glow shows. See glow effects without a black box.
- 2D lights: with a plan, tick Normal map in the export. Add the
_n.pngfile as a Secondary Texture named_NormalMapon the sprite, and URP 2D lights shade the effect.
Effects that work well in Unity


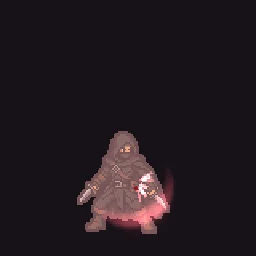
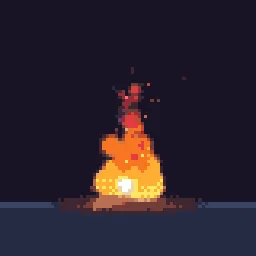
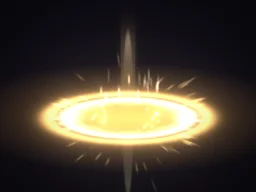
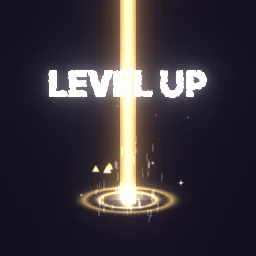
A free account exports 3 effects a day as GIF, APNG, WebP, PNG frames or a plain PNG spritesheet (a grid of frames, no data file). The data file your engine reads, packed sheets, 2x to 4x scale, normal maps and video come with any plan, from $7.99 a month.
Questions
Can I use ParticleFX effects in Unity for free?
Yes. A free account exports 3 effects a day, including a plain PNG spritesheet you can slice with Grid By Cell Size in Unity's Sprite Editor. The grid JSON with the exact frame size, columns and fps comes with any plan.
Why bake an effect instead of using Unity particles?
A baked effect plays as a sprite animation, so it costs about as much as one animated sprite, looks identical on every device, and keeps looks such as palette-locked pixel art and outlines that need shader work in Unity. Keep Unity particles for effects that must react to the scene, such as wind or collisions.
What frame rate should the animation clip use?
The frame rate you exported at, 30 fps by default. The export dialog shows it next to the frame size and frame count.