Particle effects in Roblox with flipbooks
Put free particle effects in Roblox: upload the flipbook PNG and set FlipbookLayout, FlipbookMode OneShot and Lifetime on a ParticleEmitter, or drop in a ready .rbxmx model that plays itself.
Roblox's ParticleEmitter can play a flipbook: a square texture holding a grid of frames. ParticleFX Studio exports every effect as one, built so that a single particle plays the whole effect. With FlipbookMode set to OneShot, Roblox spreads the frames evenly over the particle's Lifetime (FlipbookFramerate is not used), and the Lifetime is the effect's own length, so it plays at its true speed. Pick from the 610+ free effects, see Free Roblox VFX for picks by genre, or make your own in the studio.
The flipbook PNG
- Name:
<effect>-roblox-<grid>.png, for examplecozy-campfire-roblox-8x8.png. - Grid: chosen from the effect's length: up to 0.2 s is 2x2 (4 frames), up to 0.75 s is 4x4 (16 frames), anything longer is 8x8 (64 frames). The frames are spread evenly over one cycle, so loops stay seamless.
- Texture: 1024 px square by default (128 px frames at 8x8), or 512 or 256 from the studio export. 1024 is the safe maximum for a flipbook, since Roblox scales larger uploads down.
- Layout: frames run row by row from the top left. Each frame sits in its cell with a transparent margin, so mipmaps never bleed one frame into the next.
Free: set up the emitter yourself
- Press ROBLOX on any effect page; no account is needed. The page shows the FlipbookLayout and Lifetime for that effect. With a free account you can also export from the studio (Export, Roblox) and pick the grid and texture size.
- Upload the PNG. In Studio, open View > Asset Manager, click Import and choose the PNG. When it has uploaded, right-click it and choose Copy Asset ID. Roblox reviews new images before they show in game.
- Insert a Part where the effect should play (Anchored on, CanCollide off, Transparency 1). Add an Attachment to it, and a ParticleEmitter to the Attachment. Name the emitter
Flipbook, as the ready model does, so the scripts on these pages work with both. - Set the emitter's properties as in the table below, with Texture set to
rbxassetid://followed by the id you copied. - Add a Script to the part, set its RunContext to Client in Properties, and paste the script below. It emits one particle per cycle.
| Property | Value |
|---|---|
| Texture | rbxassetid://<your image id> |
| FlipbookLayout | The grid in the file name: Grid2x2, Grid4x4 or Grid8x8 |
| FlipbookMode | OneShot |
| Lifetime | The effect's length in seconds, both numbers the same (shown on the effect page) |
| Rate | 0 (the script emits instead) |
| Speed, SpreadAngle | 0, so the particle stays where it is born |
| Rotation, RotSpeed | 0 |
| Acceleration, Drag, VelocityInheritance | 0 |
| Size | In studs, the side of the whole square frame: 6 to start |
| Squash, Transparency, ZOffset | 0 |
| Color | White |
| LightEmission | 1 for glow (additive), 0 for smoke, dust and anything dark |
| LightInfluence | 0, so the scene's lighting does not darken it |
| Brightness, TimeScale | 1 |
| Orientation | FacingCamera |
| LockedToPart | On, so the particle moves with the part |
| FlipbookStartRandom | Off |
| FlipbookBlendFrames | On for HD effects (a crossfade between frames), off for pixel art |
-- A Script inside the part. In Properties, set its RunContext to Client.
local emitter = script.Parent:WaitForChild("Attachment"):WaitForChild("Flipbook")
local cycle = emitter.Lifetime.Max

-- A looping effect: one particle per cycle, each playing the whole flipbook.
while true do
	emitter:Clear()
	emitter:Emit(1)
	task.wait(cycle)
end

-- A one-shot instead: call emitter:Clear() and emitter:Emit(1) once, when it should play.
task.wait can resume a frame late, so now and then a frame may show no particle. The ready model's PlayLoop script avoids that: it starts each cycle on the frame nearest its due time, on a schedule that never drifts.
With a plan: the ready model
Turn on Model in the Roblox export and you get <effect>-roblox.zip with the PNG, a .rbxmx model, UIFlipbook.luau and a README. The model is an invisible, anchored part named after the effect that nothing collides with, holding an Attachment, the ParticleEmitter Flipbook set up as in the table, and a client Script that plays it.
- Upload the PNG and copy its asset id, as above.
- Drag the
.rbxmxinto the Studio window, or right-click Workspace in the Explorer and choose Insert from File. - Select the part, then Attachment > Flipbook, and set Texture to
rbxassetid://<id>. Until you do, the Output window shows a reminder when you press Play. - Move or weld the part where the effect should appear and press Play.
- Loops get a script named
PlayLoop: it keeps exactly one particle alive, the next starting as the last one ends. To stop it, destroy the part. - One-shots get
PlayOnce: it plays once when the part appears in the workspace, and again every time the part'sPlayattribute changes. Plays in the export picks Loop or Once; on Auto, an effect that bursts and fades out early is a one-shot. - RunContext Client: the script runs on each player's machine wherever the part is, so effects stay in time without waiting on the network. In ReplicatedStorage it stays quiet until a copy is placed in the workspace.
-- Play a one-shot from game code: keep the part in ReplicatedStorage and clone it.
local Debris = game:GetService("Debris")
local template = game.ReplicatedStorage:WaitForChild("Big Explosion")

local function playEffect(position: Vector3)
	local fx = template:Clone()
	fx:PivotTo(CFrame.new(position))
	fx.Parent = workspace
	Debris:AddItem(fx, 3) -- Lifetime + 1, rounded up
end

-- Or replay a part that is already in the world:
part:SetAttribute("Play", os.clock())
How we check the model: every export is read back with Lune, which uses rbx-dom (the library behind Rojo), and the scripts compile with the Luau compiler. We have not yet tested the model inside Roblox Studio ourselves. If something does not load or play as described, tell us on Discord and we will fix it.
UI effects: ScreenGui, SurfaceGui, BillboardGui
ParticleEmitters draw in the 3D world. For interfaces, the same PNG plays on an ImageLabel: ImageRectSize is one frame and ImageRectOffset steps through them. The model zip includes UIFlipbook.luau, a ModuleScript that does this from a LocalScript, loops or plays once and hides the label, and keeps pixel art sharp with the Pixelated resample mode. The UI effects page has a short script for the free PNG.
local UIFlipbook = require(game.ReplicatedStorage.UIFlipbook)

local stop = UIFlipbook.play(imageLabel, {
	image = "rbxassetid://123456789", -- your uploaded flipbook
	grid = 8, -- 2, 4 or 8, as in the file name
	seconds = 1.6, -- the effect's Lifetime
	loop = true, -- false plays once, then hides the label
	size = 1024, -- the PNG's width in px
	pixelated = false, -- true keeps pixel art sharp
})
-- stop() ends it early.
Settings that matter
- Glow or matter: LightEmission 1 adds the effect to what is behind it, which suits fire, magic, sparks and energy. Smoke, dust and debris need 0 (normal blending), or their dark parts disappear. The export's Glow is on by itself only when every layer of the effect adds light: Plasma Detonation exports with it on, Cozy Campfire and Big Explosion with it off.
- Size in studs: Size is the side of the whole square frame, and the effect fills at most 7/8 of it. A default character is about 5 studs tall: try 6 for hits and pickups, 8 to 10 for auras, 15 and up for explosions.
- Grid and texture: an 8x8 grid on 1024 px gives 128 px frames. For a big effect close to the camera, a 4x4 grid gives 256 px frames at a quarter of the frames. For small effects, 512 or 256 px textures look the same and use less memory.
- Long effects: 64 frames over 4 s is 16 frames a second; FlipbookBlendFrames crossfades between them, so slow loops stay smooth. Roblox caps a particle's Lifetime at 20 s, so a longer clip would play faster than designed.
- Upright effects: with the default FacingCamera orientation, an effect leans back when the camera looks down at it. FacingCameraWorldUp keeps it upright and turns it only around the vertical axis.
Effects that work well in Roblox
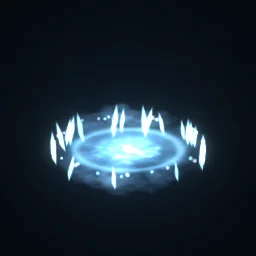 Frost Nova
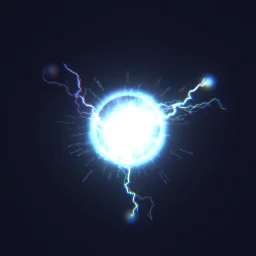 Plasma Detonation
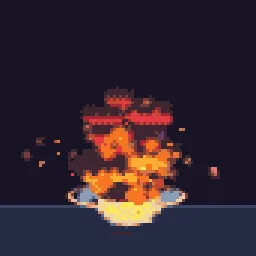 Big Explosion
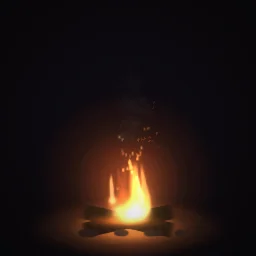 Cozy Campfire
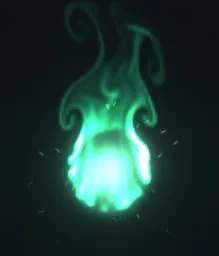 Energy Aura
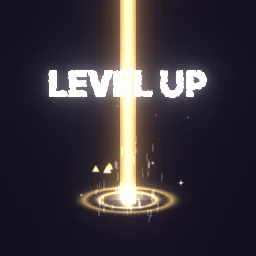 Level Up
 Treasure Chest
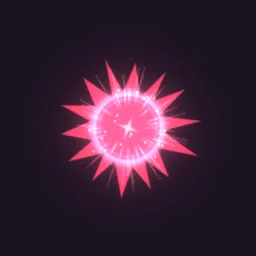 Anime Impact Frame
The flipbook PNG is free: the ROBLOX button on every effect page needs no account, and a free account can also export it from the studio (3 effects a day) with the grid and texture size of your choice. The ready model, a .rbxmx with the emitter set up and a script that plays it, plus UIFlipbook.luau for UI, comes with any plan, from $7.99 a month.
Questions
Why does my Roblox flipbook play too fast or too slow?
With FlipbookMode OneShot, Roblox spreads the frames over the particle's Lifetime and ignores FlipbookFramerate. Set both numbers of Lifetime to the length shown on the effect page.
Why do I see several copies of the effect at once?
The emitter is still emitting on its own. Set Rate to 0 and emit one particle per cycle from a script, with Clear() before each Emit(1).
Why is my effect dark at night?
A ParticleEmitter inserted in Studio starts with LightInfluence 1, so the scene's lighting darkens it. Set LightInfluence to 0 to keep the effect at full brightness.
Why does the texture not show?
Roblox shows new images only after review, so wait a moment after uploading. A Decal id is not an image id: paste it into the Texture field in Studio's Properties, which converts it. A Decal id set from a script does not load.
Can I export a bigger texture than 1024 px?
No. 1024 is the safe maximum for a particle flipbook, because Roblox scales larger uploads down. For sharper frames, use a 4x4 grid instead of 8x8.